How to adjust print position (Models: MA601/MA801)
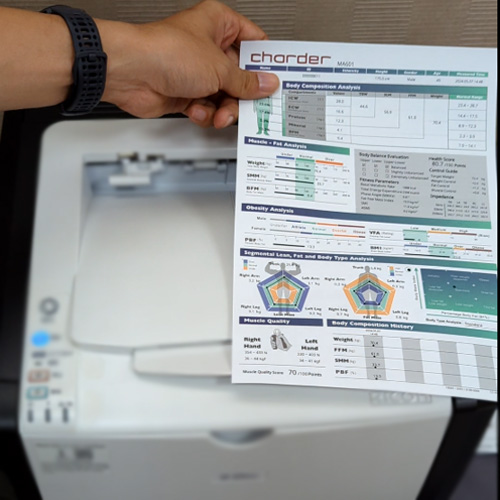
After completing a body composition scan using the MA601 or MA801, measurement results can be printed onto paper using a compatible printer (PCL5+ driver compatibility).
However, due to minor differences in settings or the physical positioning of the paper, it may be necessary to slightly adjust printing position to make sure everything is aligned!
If you find that the printing is a bit crooked after pressing "print" on the device: (example below)

We need to enter device settings and adjust the printing position so the alignment dot (marked in the red circle, too far left and down in the example) is in the center!

To adjust print position of the Result Sheet, enter settings on device. (MA601 used in example)

Press "Printer"

Use the arrow buttons to adjust print position. To move the alignment dot up, press "up” (the same applies for all other directions). Each press will move print position by 0.1 mm. In this example, we would want to move roughly 1.0 mm to the right and up.

When the alignment dot is in the center of the circle, the paper and printer are perfectly aligned!